It doesn’t really matter how quickly someone can lay block paving.
And the total size of the driveway isn’t the real measure of quality either.
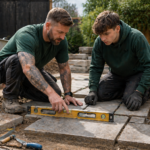
What really reveals who installed the paving are the finishing details.
On large driveways those details can be easy to miss. But in small garden patios or compact paved areas, every cut and joint becomes part of the picture.
That’s where craftsmanship shows.
Why Block Paving Cuts Matter
Your paving design and pattern determine how complicated the block paving cuts will be.
Most cuts are not complicated in theory.
The real challenge comes from the attention, time, and precision required to achieve a clean result.
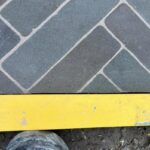
Patterns such as herringbone block paving almost always create angled cuts along the edges of the paved area.
And when paving isn’t perfectly square, additional angled cuts appear across multiple rows of blocks.
Block Splitters vs Power Cutting Tools
Yes, block splitters exist.
I’ve used them once or twice over the years — mostly to understand their limitations.
For simple straight cuts, a block splitter can actually be a useful tool.
They are dust-free and much quieter than power tools.
But like any tool, their usefulness depends on the job.
Every tool is only as good as the operator behind it.
Power Tools for Precision Paver Cuts
Once the paving pattern becomes more complex, a block splitter will only take you so far.
For detailed work, installers usually rely on:
- Wet table saws
- Angle grinders
- Diamond cutting discs
Wet saws are excellent for clean and controlled straight cuts.
They are mostly dust-free, although they do create a fair amount of mess.
They are also extremely noisy.
A Note on Wet Table Saws
Not all table saws are created equal.
Different models are designed for different tasks, and many hired machines are far from new.
That means the operator often needs to adapt and learn how to work with the machine, rather than expecting it to perform exactly like the promotional videos suggest.
The “Funny Cuts” in Block Paving
Sooner or later every paving project reaches those awkward areas where standard tools can’t solve the problem easily.
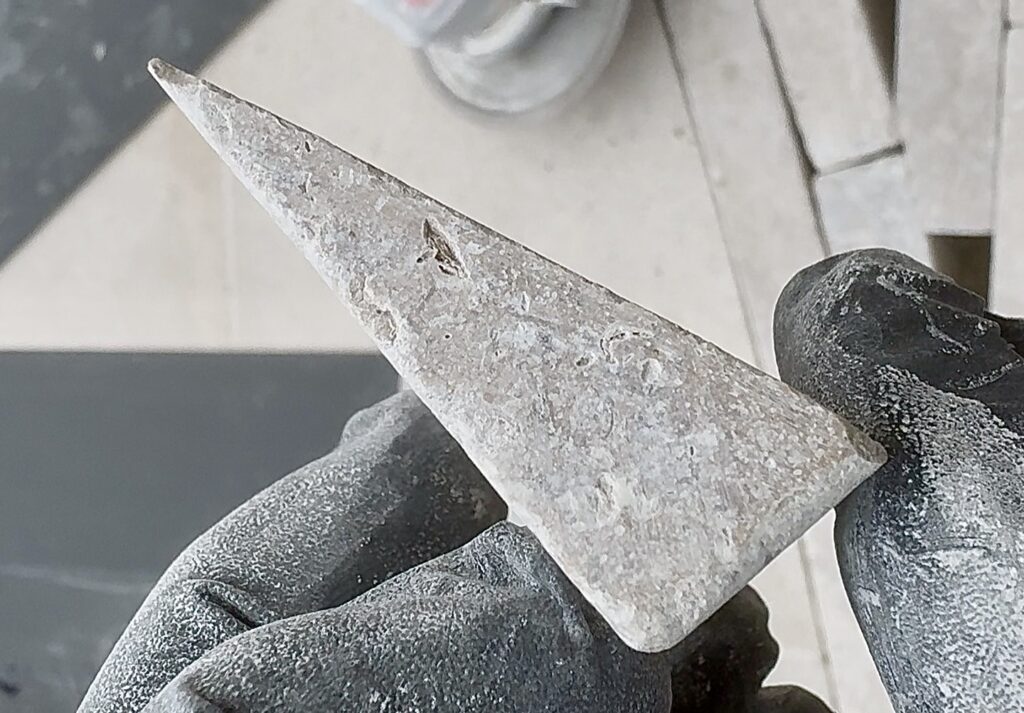
Those are the funny cuts.
Small triangular pieces.
Paper-thin limestone edges.
Shapes that no block splitter or table saw can comfortably produce.
At this point the only solution is:
- patience
- careful grinder work
- and full attention to safety
These cuts require time and determination — but they are often what makes the final paving look seamless.
Making Thin Paving Pieces Last
Even when you manage to cut extremely thin pieces of stone, the work isn’t finished.
To ensure those pieces survive weather, wear and daily use, they must be:
- properly supported by the base
- carefully positioned within the pattern
- installed with tight but realistic joints
Thin or small pieces can be glued to near by larger pieces. So they behave as a unit.
Good paving balances precision with practicality.
Watch the Cutting Process
Here’s a short video showing some of the unusual cuts required for this paving pattern.
Tools Used in This Project
Disclosure: This section of this post may contain affiliate links, meaning Flexi Landscapes get a commission if you decide to make a purchase through links below, at no cost to you.
- Angle Grinder: Makita DGA517 – 125mm
- Diamond Disc: Bosch Diamond Disc for Ceramic
- Stone: Egyptian Limestone